Spring Wreath Project
This was my first DIY project. I have struggled and feared having my children grow up because I always envisioned myself having little toddlers, playing peek-a-boo, doing finger plays, building out of blocks and playdough, etc. Over the past couple of years though, the girls have been getting older and I am embracing all the things we can begin to do as a family that were partially put on hold because they were little, or at least one of them was too little do it on their own. When I came across this idea on Pinterest and read the step by step process outlined by Mandy over at Sugar Bee Crafts blog, I thought we (the girls and I) can do this!
STEP 1: We went out to Walmart, Michaels and Dollarama and purchased the supplies we needed.
- wreath (Walmart $6, well over that at Michaels)
- assortment of pink buttons (Dollarama)
- burlap ribbon (Michaels)
- 2 bunches of large tulips (I initially bought 3 but didn't end up needing them all Michaels)
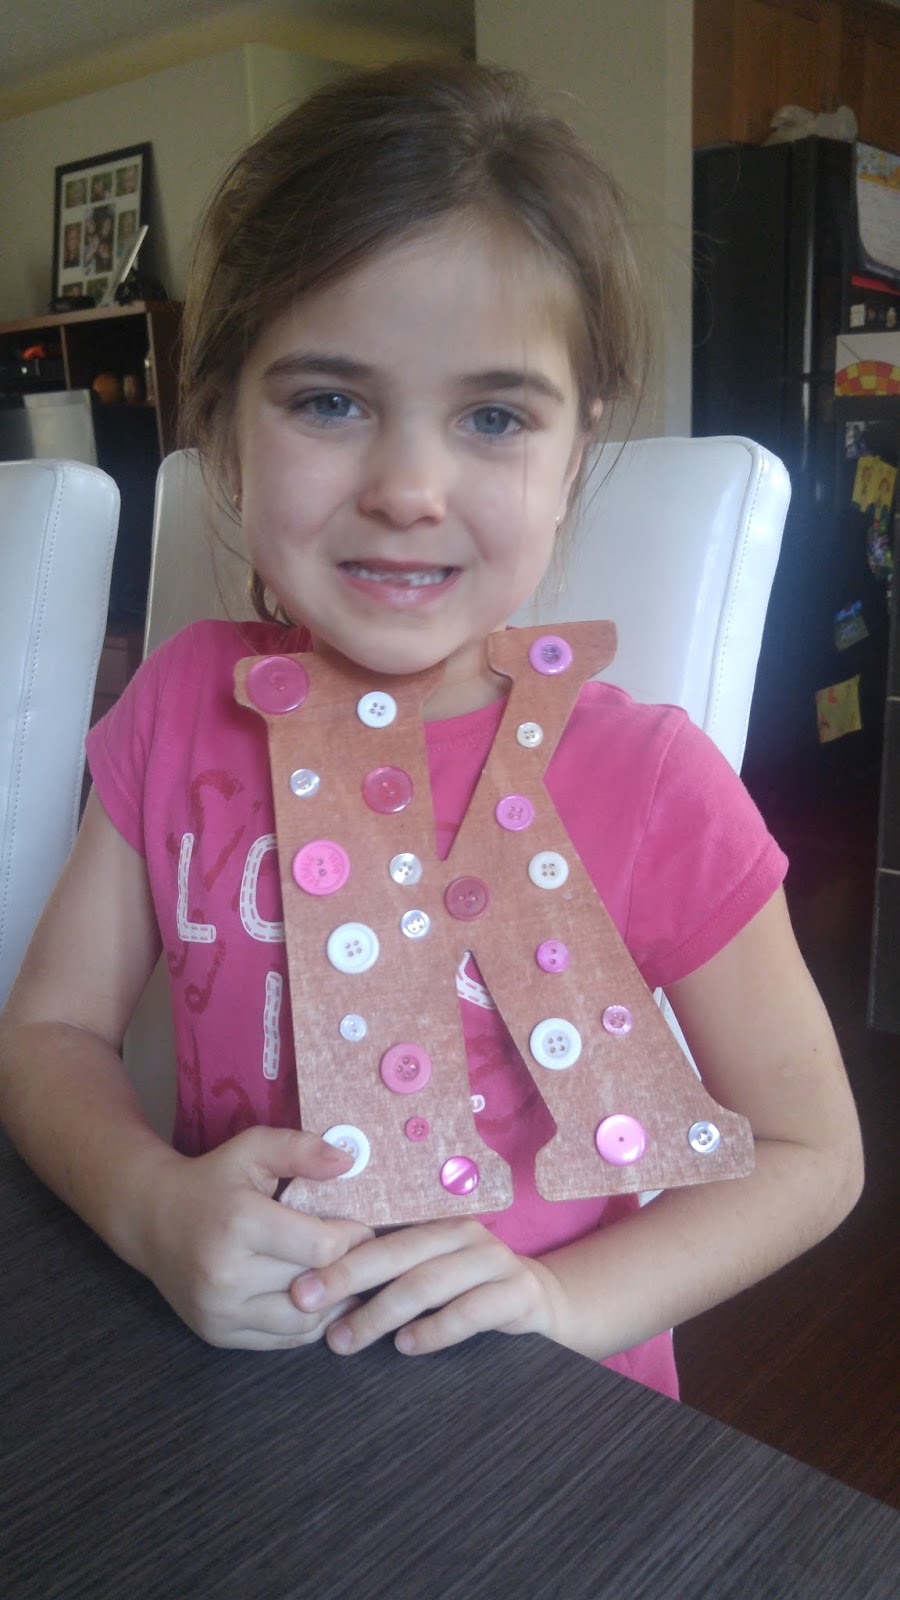
- wooden letter to represent your family (Michaels)
- glue gun and sticks
- twist tie
The cost of all the materials was approximately $30-$35 in the end.
STEP 2: Little A and I spent some one on one time and she designed our letter using the buttons. I did not step in or make changes to her design but instead really worked hard to let her be creative giving her ownership over this part of our wreath.
Step 2: Prepping the flowers. Use really strong scissors or even better, wire cutters. I found cutting the stems to be a little shorter was better and easier to weave into the wreath, but it's better to start off a little longer and then cut to what you need or works best for you. I separated the leaves and the flowers from each other.
Step 3: Weaving the flowers into the wreath is a bit tricky but once I figured it out and showed H. she was pretty good at it. H. is very artistic and has a lot of patience. I did the top half, then left a hand width space or slightly more, and H. did the weaving on the bottom half. Alternate weaving 2 or 3 flowers into the wreathe with the leaves to fill the spaces in between and to hide the stems. Make sure you leave enough space on the right hand side to place your letter afterwards.

Step 4: I used hot glue gun to attach the letter K between the two sections of tulips
Step 5: I did NOT know how to tie a beautiful ribbon, let alone a burlap one so YouTube to the rescue! For the life of me I cannot find the video but here is a step by step on how to create a simple burlap ribbon. First, I wrapped the middle section on the left hand side with burlap so that you couldn't see any of the stems. I secured the burlap in place using a hot glue gun. Next, I created the ribbon, following the tutorial and attached it to the middle section using a hot glue gun which proved to be dangerous for me several times throughout the project.
Step 6: Display. The kids and I are so happy and proud with the finished product and every time we come home it's a beautiful sight to walk up to. I feel like this DIY project is just the beginning for us. Happy spring!
Happy Mother's Day!


That turned out awesome!!! What a great idea.
ReplyDeleteThanks. It was lots of fun and since we've also done some fairy gardens which were a blast. It truly is a new chapter in our lives.
DeleteYour wreath turned out great! I wish I was more creative, DIY is just not in my genes!
ReplyDeleteRachael
http://www.threadsforthomasblog.com
Rachael, that's what I thought too and generally that rule applies to me but this was super easy to do. Thanks for the nice comment.
DeleteWish I was crafty! This is amazing!
ReplyDeleteThanks Jordan. Honestly I am the least crafty Kindergarten teacher that has ever existed. I am more of a "get it done" person than :pay close attention to detail", so DIY stuff is usually out of my reach. LOL. I am pretty happy with the result and since then we have done some fairy gardens in pots too!
DeleteThat is beautiful! I just love family crafts. My boys used to help with things like that too. Thanks for sharing with us at the Welcome Spring party. Pinned.
ReplyDelete